Harvest and Storage Checklist for Homegrown Seeds
Seed saving splits into two halves. The first is the part everyone photographs: the fat tomato, the bean pod splitting at its seam, the lettuce head gone to fluff. The second half happens on kitchen paper and in the back of a cupboard, and it decides whether any of the earlier work means anything next spring. A seed harvested a week early, or sealed away still damp, or tipped into a jar with no name on it, will not reward you. What follows is the checklist for that second half.
Harvest at the Moment the Seed Is Ready, Not the Fruit
Ripe fruit and ripe seed are not the same thing. A tomato can be perfect for eating while its seeds are still immature, and a bean pod can look dry enough to pick while the seeds inside are still soft and pale. Learn the signals for the crops you grow and you will stop guessing.
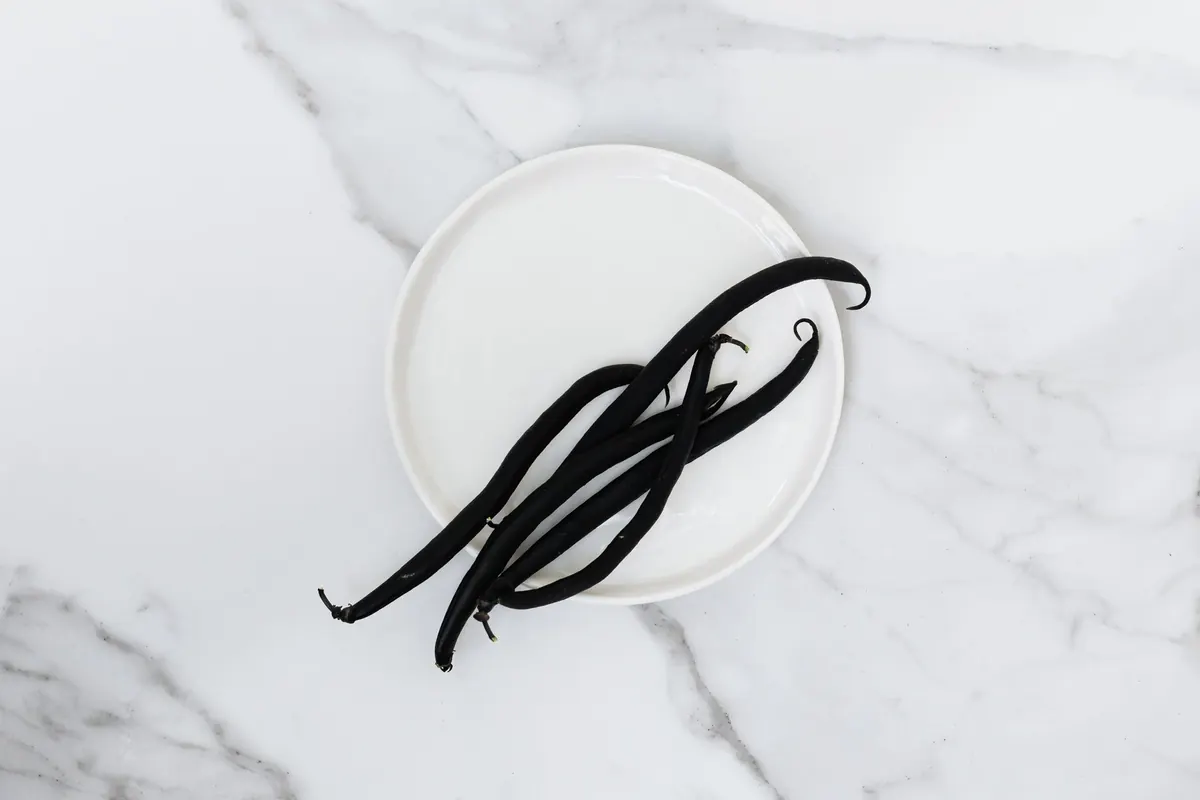
Dry-seeded crops — beans, peas, lettuce, brassicas, radishes, calendula, dill — are ready when the pod or seed head turns brown and papery and the seeds rattle or fall free with a light rub. Wet-seeded crops — tomatoes, cucumbers, squash, peppers, aubergines — are ready when the fruit is fully ripe, often past the eating stage: a squash that has sat on the vine until the skin is hard, a cucumber turning yellow.
Pick on a dry morning, after the dew has gone but before the heat of the afternoon. Damp pods brought indoors in a basket will start to mould before they finish drying. If rain is coming, harvest a little early and finish the drying indoors rather than leaving a ripe crop to spoil in the field.
The Harvest-Day Checklist
Work through this in order on the day you collect, while the material is fresh and you still remember which row it came from.
- Harvest into paper bags or open baskets, never into sealed plastic. Trapped moisture is the most common reason saved seed fails.
- Keep varieties separate from the moment of picking. One bag per variety, and write on the bag before you fill it.
- Note the parent plant — the healthiest, earliest, best-shaped one. That note matters more than you think when you are staring at a jar in March.
- Remove obvious debris outdoors: chaff, leaves, damp soil, the odd insect. Leave the fine cleaning for later.
- Spread the material in a single layer on trays or screens as soon as you are inside. Piles heat up and go mouldy.
Drying: Airflow Beats Heat
Seeds need moving air far more than they need warmth. A warm, still room is a poor drying room; a cool, breezy one is excellent. Aim for a shaded, well-ventilated space — a garage with the door ajar, a covered porch, a spare room with a fan on low. Direct sun is a mistake: it bleaches seed, overheats it and can bake the life out of it.
Dry-seeded crops
Hang bundles of beans or peas upside down over a cloth, or lay pods flat on newspaper. Lettuce and brassica seed heads can go into a paper bag with the top folded over and a few air holes punched in it — the seeds shed as they dry and collect in the bottom. Give them a week to ten days, then test before you commit. Gentle heat from a radiator or oven is risky; a domestic oven, even on its lowest setting, is usually too hot for seed.
Wet-seeded crops
Tomatoes and cucumbers benefit from fermentation, which clears the gel sac around the seed and helps knock back some seed-borne problems. Scoop the seeds and gel into a jar, add a little water, and leave it somewhere warm for two to four days, stirring daily. A layer of mould on top is normal. When the good seed has sunk, rinse thoroughly in a sieve until the water runs clear, then dry on a glazed plate or glass — not on paper, where the seeds glue themselves down. Peppers and aubergines need no fermentation: rinse, then dry.
Label It Twice, and Be Specific
A jar of small brown seeds is a jar of small brown seeds. In February it will not tell you whether it is mizuna or mustard, or whether it came from your best plant or the one that bolted early. Label the drying tray, then label the finished container, and put a slip of paper inside the jar as well, because the outside label will eventually smudge.
Write four things: crop, variety, harvest month and year, and a short note on the parent plant. "Bean — Borlotto — Sept 2025 — from the vigourous row by the shed" is the standard to aim for. Add germination results later, once you have tested.
Check the Moisture Before the Jar Is Sealed
Most seed failures come down to this one step, and it takes a minute. Take a large, dry seed — a bean, a pea, a squash seed — and try to bend it. Properly dry seed snaps. Seed that flexes or feels leathery is still holding water.
A second test works for any batch: fill a clean, dry glass jar with seed, seal it, and leave it at room temperature for a day. If condensation beads on the inside of the glass, the seed is not dry enough — return it to the drying screen for another few days and test again. Small seeds can sit in a bowl beside a sachet of silica gel for a week to pull down the last of the moisture; dry the gel sachet afterwards or replace it.
Storing So the Seed Is Still Alive in Spring
Once seed is genuinely dry, three things preserve it: a cool temperature, darkness, and stable, low humidity. Heat and moisture are the enemies; fluctuation is the quiet accomplice.
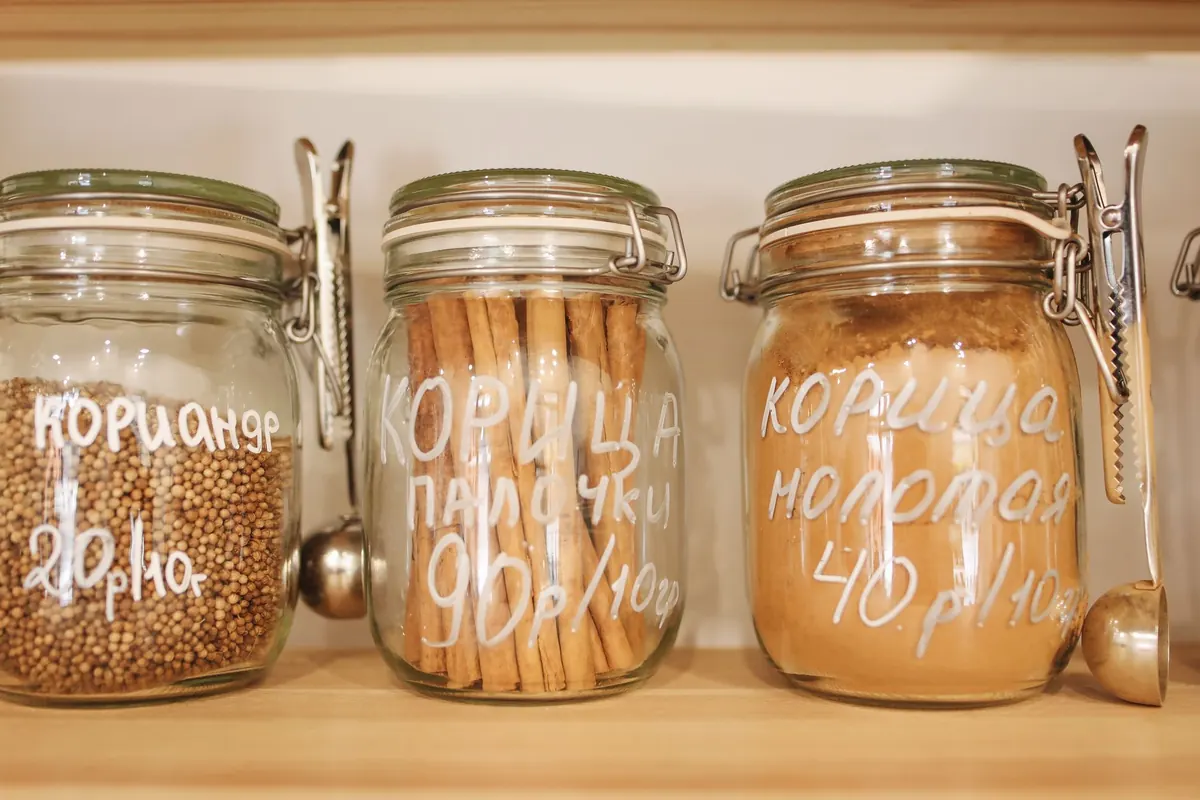
- Containers: glass jars with tight lids, or metal tins. Paper envelopes are fine only inside a sealed jar or box.
- Moisture control: a small sachet of silica gel in each jar, especially in humid autumns.
- Placement: a dark cupboard in an unheated room, a cool cellar, or the door shelf of a fridge. Avoid the shelf above a cooker or a south-facing windowsill.
- The fridge rule: anything going into a fridge or freezer must be sealed and dry, and must come back to room temperature before you open it, or condensation will form on cold seed.
- Pests: check jars every few weeks for weevils or moth activity; a single infested jar can spread.
Keep a simple index card or notebook list of what is where. It saves rifling through boxes in March, and it tells you which varieties are running low before the sowing season starts.
The Five-Minute Check That Saves a Season
Sometime in midwinter, before you plan the spring, count out ten seeds from each batch onto damp kitchen paper, fold it, seal it in a bag and leave it somewhere warm. Look after a week or ten days. Seven or more sprouts and you can sow with confidence; three or four and you should sow thicker, or look for fresher seed; nothing at all and you have learned something useful while there is still time to act. Write the result on the label.
None of this is difficult, and most of it is done while the kettle boils. Dry thoroughly, label twice, test the moisture, store cool and dark — and next season's garden starts in a jar on a shelf, already half grown.
Photo: Polina Tankilevitch / Pexels
You Might Also Like
Soil temperature, not the calendar, decides when a seed wakes up. How to measure it, and which crops want cool ground or warm.
Pole or bush, snap or shell or dry — a working guide to choosing heirloom beans that suit your kitchen, your climate, and the space you actually have.